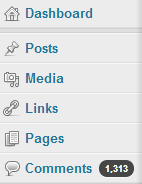
When you install a completely fresh WordPress of version 3.5 or greater, you won’t see Links menu in your Dashboard. So if you like to add Link panel to your WordPress site (version 3.5 or greater) menu then, you have to download and install Links Manager plugin.
Hence Links Manager is WordPress plugin that provides facilities for add, edit and deletes a set of external links. Also, we can give categories to these links.
Given below is the complete guide about Link Manager.
To start with link manager click links panel from your dashboard, here you can see three options given below in image:
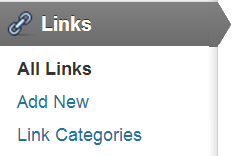
All Links
On clicking all links open a new window. Where you can see all existing links with detail like their name, URL, categories, relationship, visible and rating.

You can also change the view of the link in the following ways:
One category: You can choose a single category from the “View All Categories” dropdown and click Filter, and the list will be limited to the chosen category.
Sorting order: By default, the links are sorted by names. But you can also sort the link by Name or URL by clicking on the small black arrow in the header of the table.
Edit or Delete
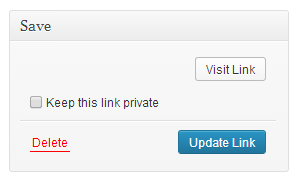
When you hover over a link you can see the option of Edit | Delete the link. Using Edit | Delete option you can edit or delete any link.

Don’t forget to click on update button.after every editing.
However, if we want to delete more than one links at a time then we can use the bulk action.
Add New
On clicking add the new option, it will release a window .where we can add a new link with all details.
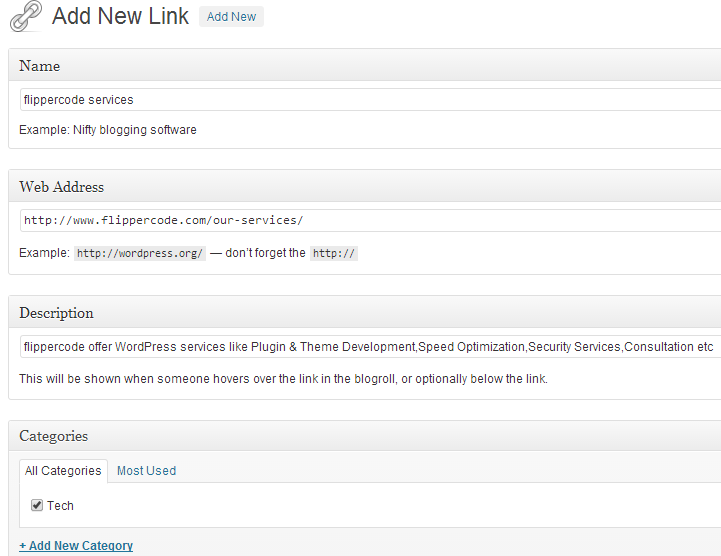
In the given above image you can see different fields that we have to fill for adding a new link.
1 Name: Give the name of the link ( eg flipper code service)
2 Web Address: complete URI of the web page you’re linking to, (eg -http://www.flippercode.com/our-services/)
3 Description: Give the description about your link
4 Categories: Here you can select the desired category for the link. Also, you can put a link in more than one category.
5 Target: Target tells where the page will open when you click on the link. There are three options:
- None: To open the link in the similar window.
- Top: To open the link at the top level of the frame system.
- blank: To open the link in a new window.
6 Link Relationship (XFN): Link relationship is a way to describe your relationship with the linked person
Link relationships are optional for WordPress links. You can leave everything in this section blank and all your links will still work.
7 Advanced: The Advanced fields can add extra information to the link.
- Image Address: You can give an address of image URL that you want to display for the link.
- RSS Address: URI of the RSS feed related to the Link.
- Notes: You can use this to add any note about your Link.
- Rating: Here you can give a ranking of the Link, which can be used to sort links within Categories.
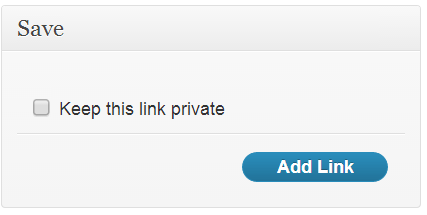
When you have set all the options you are interested in, click Add Link to add the new Link. You can hide a link by clicking on “Keep this link private” option.
Link Categories
For better link dealing, all the Links in WordPress are organized into categories. From ‘Link Categories’ option, you can add, edit and delete categories. There must always be at least one link category.
By default, we see a category “Blogroll”. If you want to delete the “Blogroll” category, first make another link category as the default.
For adding new categories we have to fill Name, Slug, and Description. just like given below image.
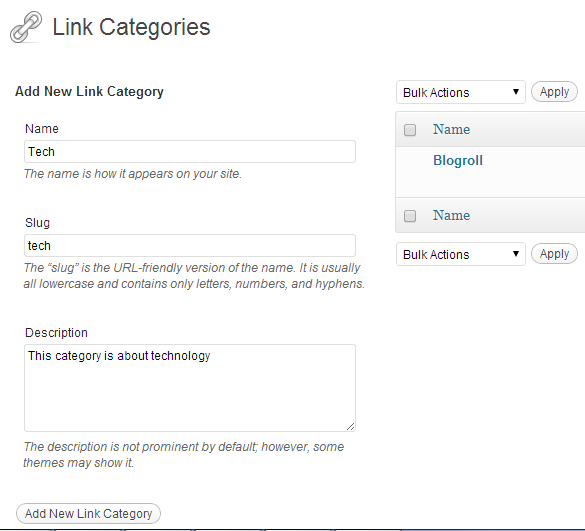
After setting all fields click on “Add New Link Category”.
Explore the latest in WordPress
Trying to stay on top of it all? Get the best tools, resources and inspiration sent to your inbox every Wednesday.

